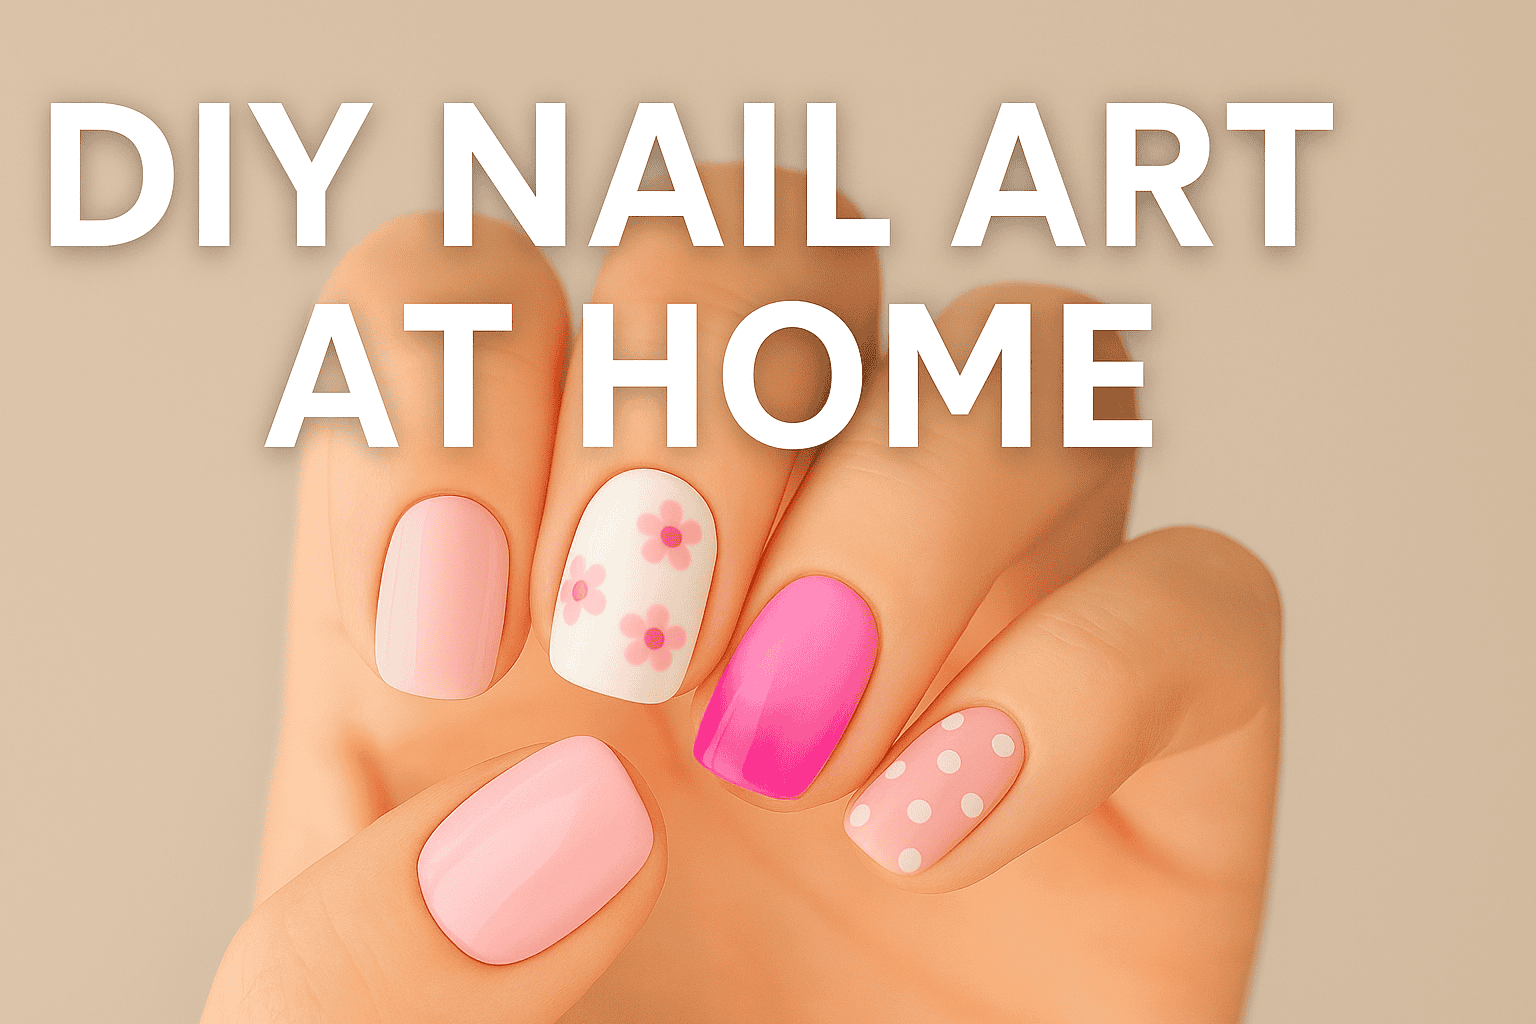
DIY Nail Art at Home for Beginners: Step-by-Step Guide
If you’re looking for a fun, creative way to pamper yourself, DIY nail art at home is the perfect hobby to explore. Whether you’re a total beginner or someone with a little experience, creating your own stunning nail art designs can be a relaxing and satisfying activity. Plus, it’s a great way to save money while achieving beautiful, salon-worthy nails from the comfort of your own home.
In this comprehensive guide, we’ll walk you through everything you need to know about DIY nail art at home — from the basic supplies to beginner-friendly designs and essential tips for lasting results. Ready to get started? Let’s dive into the wonderful world of nail art!
Why DIY Nail Art at Home is the Best Option
DIY nail art at home isn’t just for people who want to save money — it’s for anyone who loves being creative and experimenting with different designs. Here are some reasons why doing your own nail art is a fantastic choice:
- Affordable: Nail salons can get expensive, especially if you’re constantly switching up your nail art. Doing it at home allows you to invest in quality tools that last longer.
- Customizable: Want your nails to match a specific outfit or theme? When you do your own nail art at home, you can create unique designs that suit your personal style.
- Fun & Therapeutic: DIY nail art can be a relaxing, creative outlet. It allows you to express your personality through your nails, and the process itself can be very therapeutic.
- Convenient: No need to book appointments or sit in long waiting lines. With DIY nail art at home, you have complete flexibility to do your nails whenever you want.
Getting Started: Essential Supplies for DIY Nail Art at Home
Before you start creating masterpieces on your nails, you’ll need a few essential supplies. The good news is that most of these tools are affordable and easy to find!
Basic Supplies:
- Nail Polish: Start with basic colors, like neutrals and pastels. As you gain confidence, you can experiment with bolder shades.
- Base Coat & Top Coat: These are important for protecting your nails, preventing staining, and giving your nails a shiny finish that lasts longer.
- Nail Art Brushes: Thin brushes are perfect for intricate designs, while wide brushes are great for full coverage.
- Dotting Tools: Dotting tools come in various sizes and are excellent for creating patterns, polka dots, and other nail designs.
- Nail Tape: Use nail tape to create crisp, geometric lines and patterns.
- Nail Stencils: If you want to get more advanced, nail stencils are a great way to create precise shapes and designs quickly.
- Acetone & Nail Polish Remover: These will help you fix mistakes and remove old designs.
Optional Extras:
- Glitter: Add some sparkle to your nails with glitter polish or loose glitter.
- Rhinestones or Studs: Perfect for adding extra glamour to your designs.
- Nail Foil: Nail foils are an easy way to create stunning metallic designs.
Simple Step-by-Step Guide for DIY Nail Art at Home
Step 1: Prepare Your Nails
Before you start any nail art, make sure your nails are clean and prepped.
- Remove any old nail polish using a nail polish remover.
- Trim your nails to your desired length and shape them with a nail file.
- Push back your cuticles with a cuticle pusher.
- Buff the surface of your nails gently with a buffer to remove ridges and ensure smooth application.
Step 2: Apply a Base Coat
A base coat is essential as it helps to protect your nails from staining and provides a smooth surface for nail polish. Apply a thin layer of base coat and let it dry completely before moving on.
DIY Nail Art at Home: Beginner-Friendly Designs to Try
Now that your nails are prepped and ready, it’s time to start your DIY nail art at home journey. Here are a few easy designs that beginners can try:
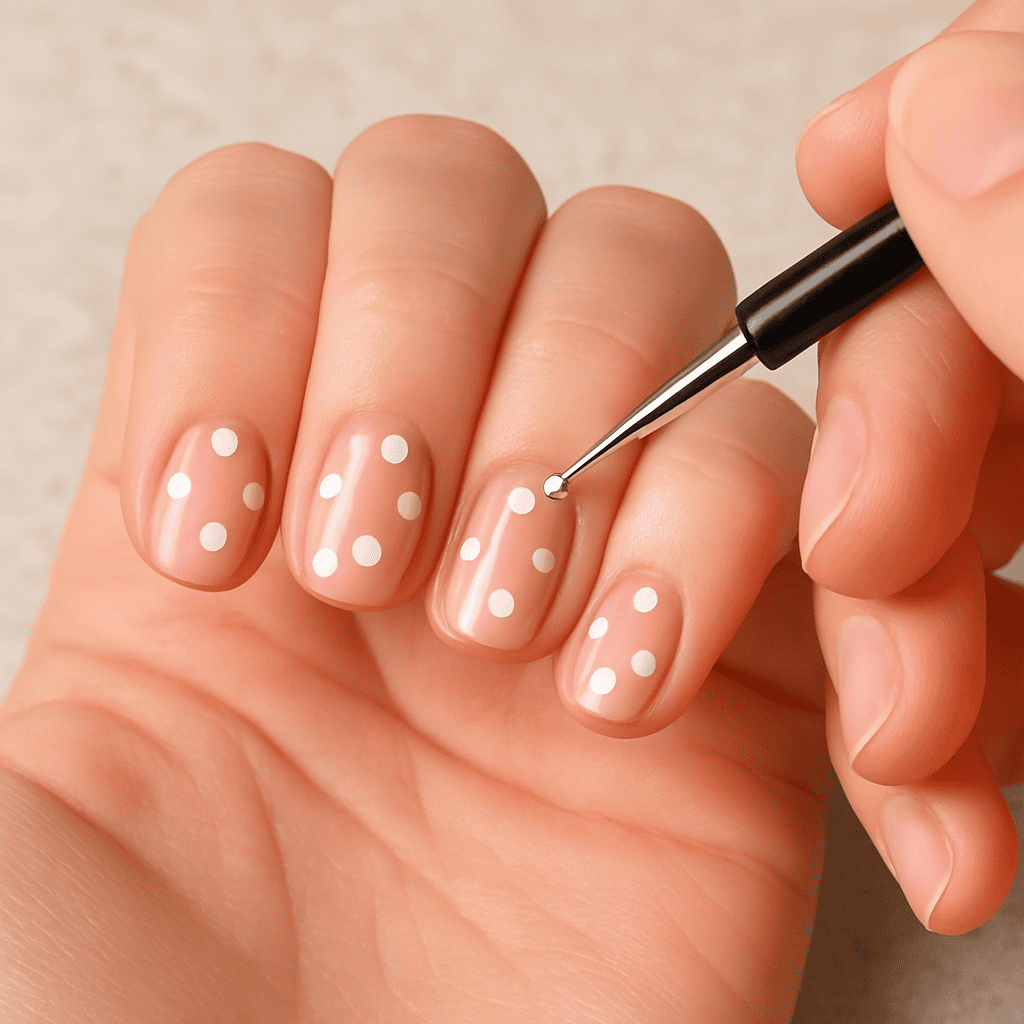
1. Polka Dots Design
Polka dots are an easy and classic design that anyone can create. All you need is a dotting tool or the end of a bobby pin.
- Apply a base color to your nails and let it dry completely.
- Dip your dotting tool or bobby pin into a contrasting color of nail polish.
- Gently dot the polish onto your nails to create a fun, dotted pattern.
2. Stripes and Lines
Stripes and lines can add a chic touch to your nails. You can use nail tape for perfect, straight lines.
- Apply a base color and allow it to dry.
- Once dry, use nail tape to create stripes, or use a thin brush to paint lines.
- Apply a top coat to seal the design and prevent chipping.

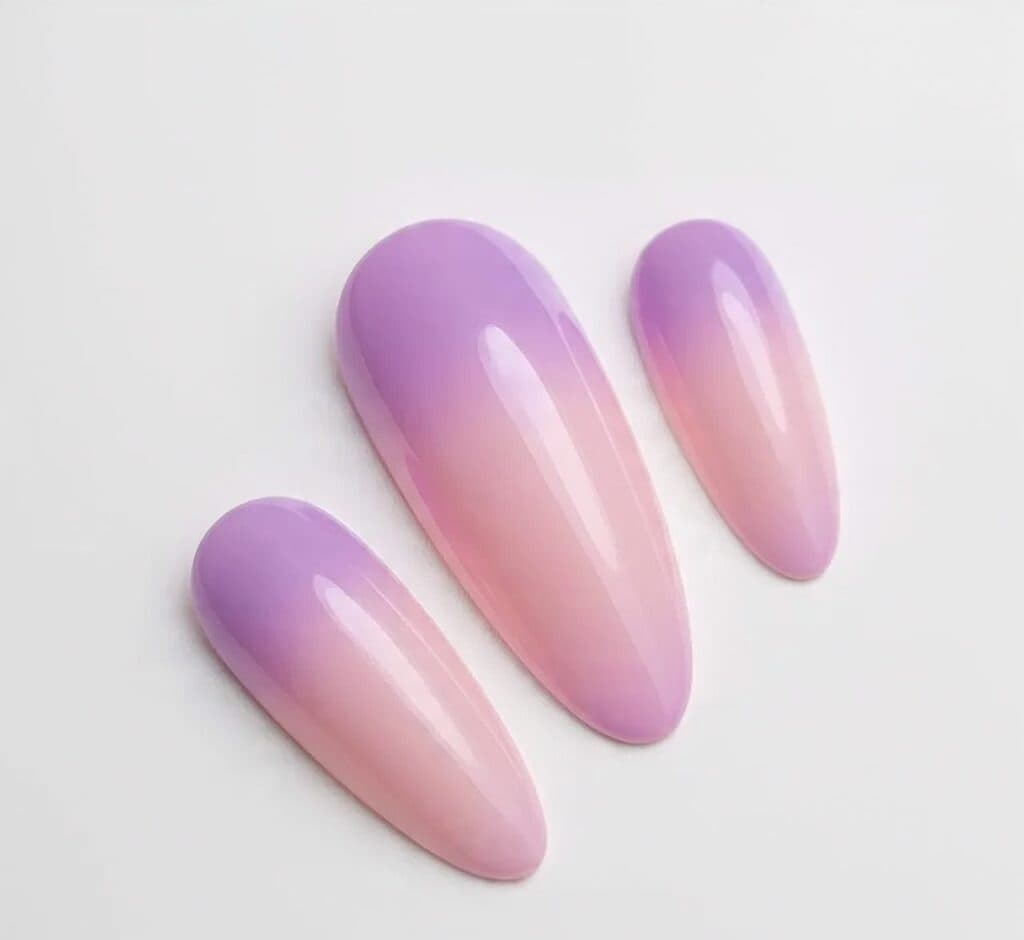
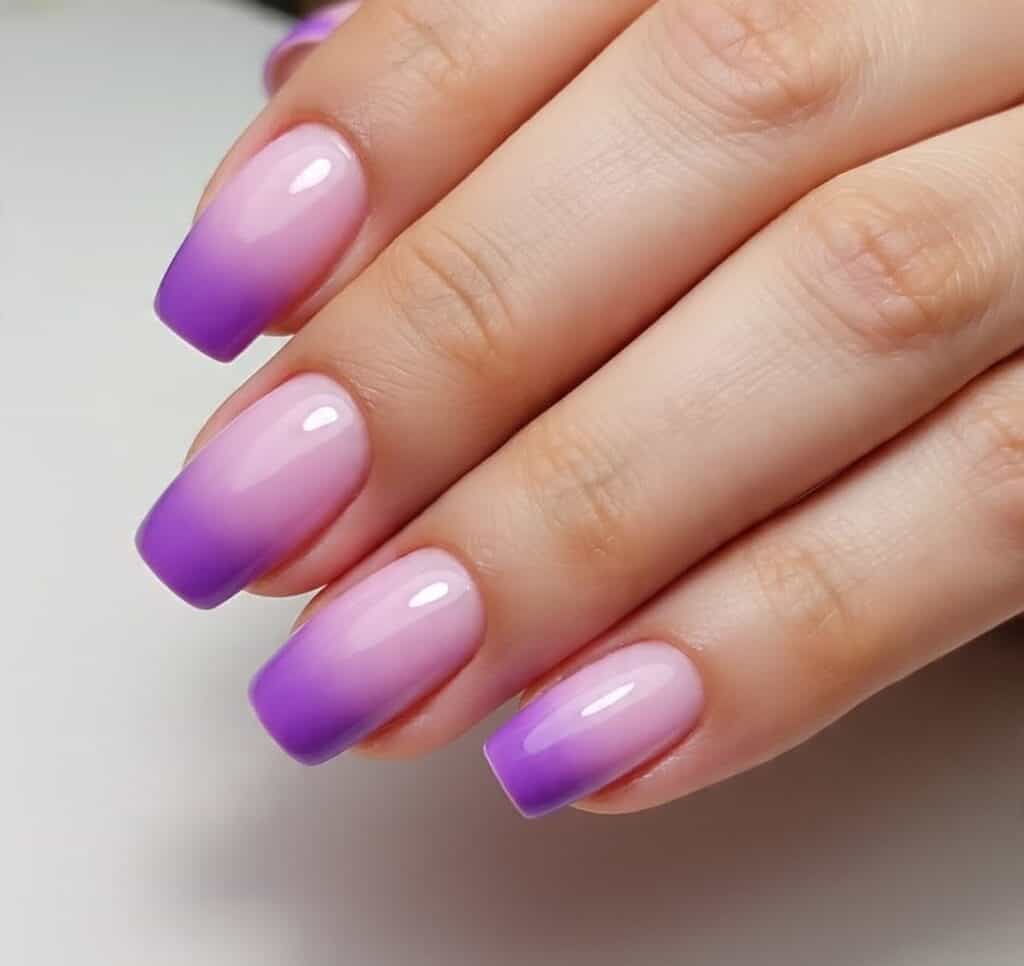
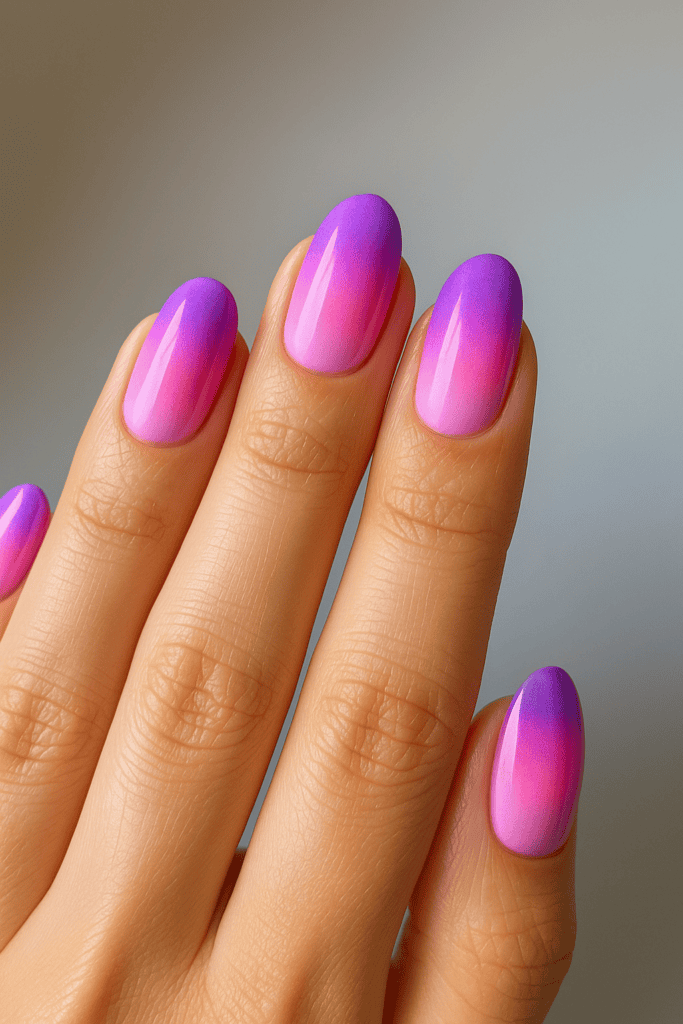
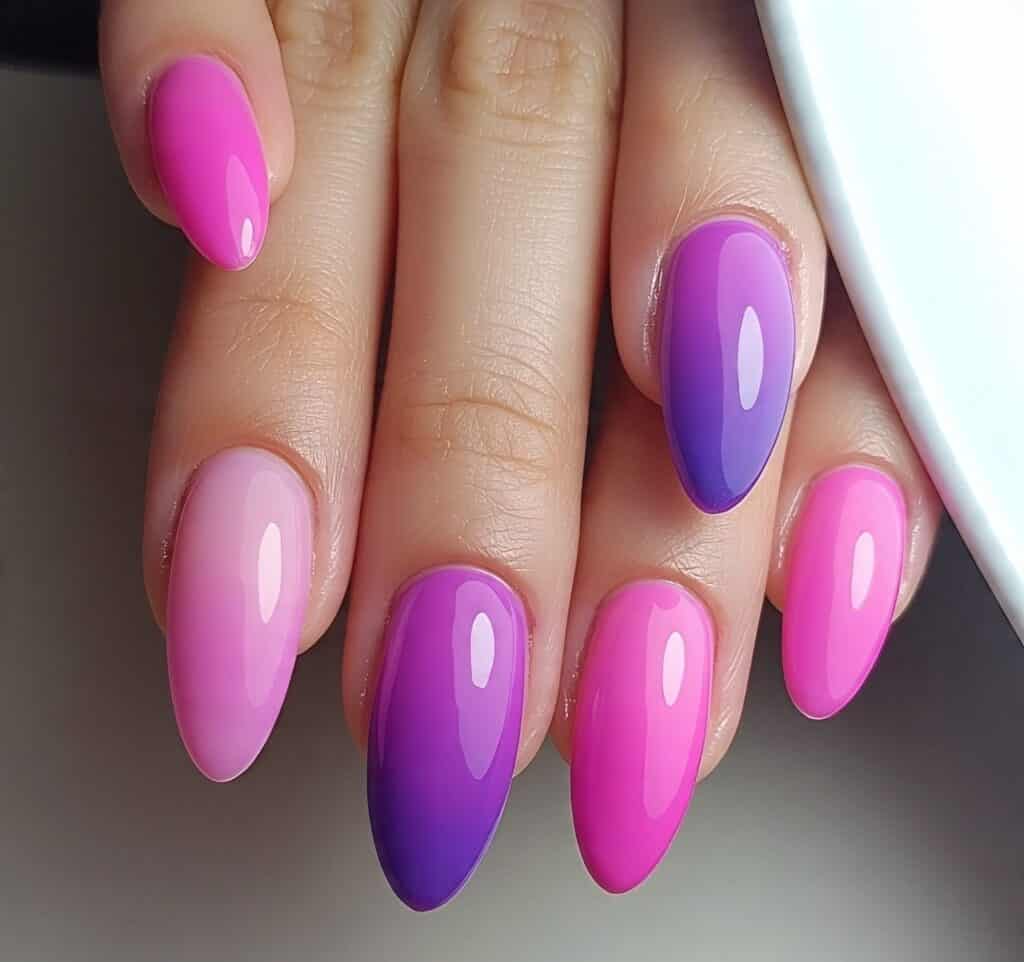
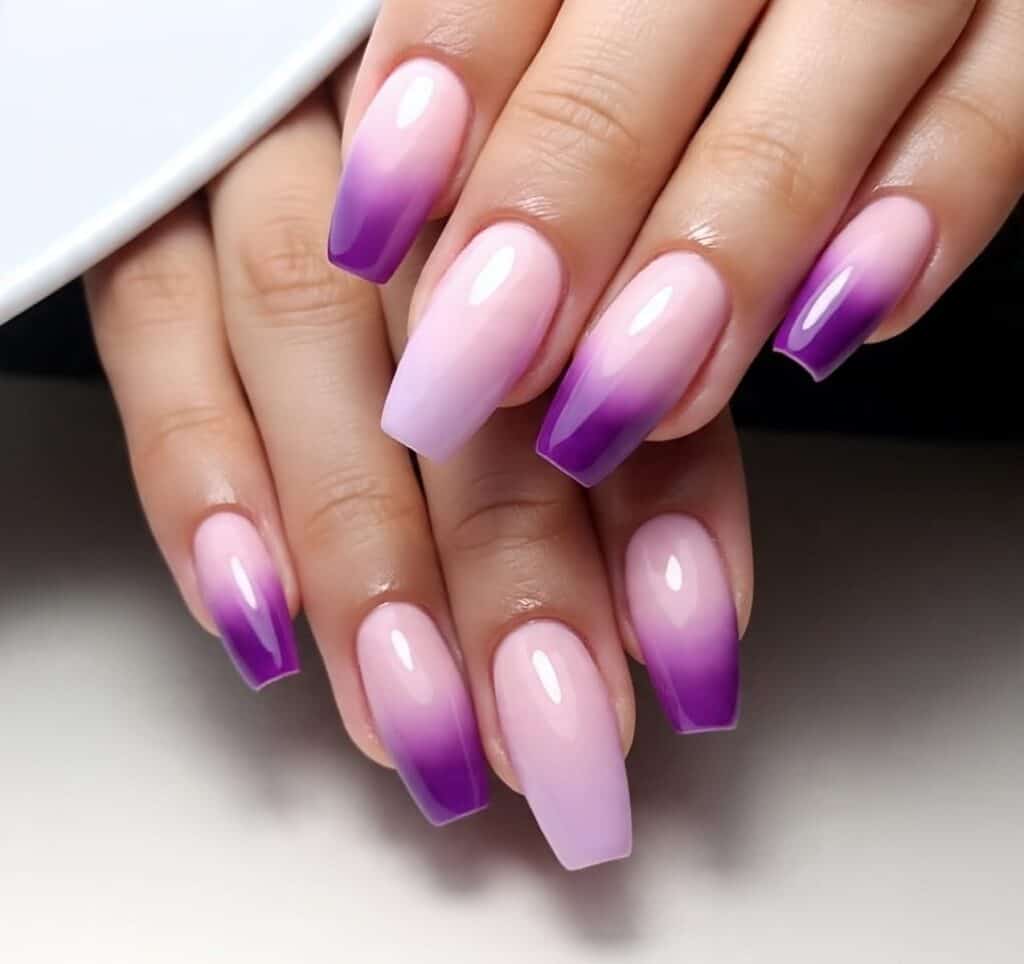
3. Gradient or Ombre Nails
Ombre nails are a trendy and sophisticated look that can be easily achieved at home.
- Choose two shades of nail polish in complementary colors.
- Apply the lighter color to the base of your nail.
- With a makeup sponge, dab the darker color onto the tip of the nail and blend the two colors together.
- Finish with a top coat for a glossy finish.
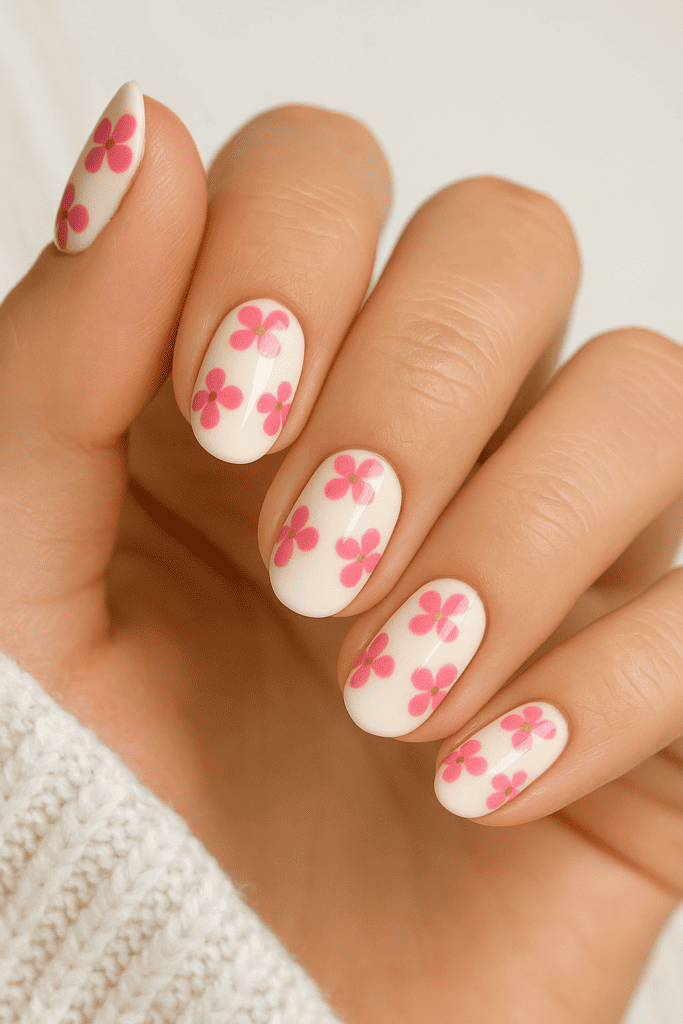
4. Floral Nail Art
Floral designs are timeless and look great on nails.
- Apply a base color and let it dry.
- Use a fine nail art brush to create flowers, or use nail stickers if you’re short on time.
- Add dots or lines to form petals and leaves.
- Seal the design with a top coat to add shine.
Tips for Lasting DIY Nail Art at Home
To ensure your DIY nail art at home lasts longer, follow these tips:
- Allow enough drying time: Make sure each layer of polish is completely dry before applying the next.
- Seal the edges: When applying top coat, gently wrap the polish around the tips of your nails to help prevent chipping.
- Use high-quality products: Invest in good nail polishes and top coats to get a longer-lasting finish.
- Avoid hot water: After applying nail art, try to avoid hot water for a few hours to help prevent chipping.
- Touch up regularly: If your nails start chipping, you can always touch them up with a bit of polish.
Final Thoughts: Have Fun with DIY Nail Art at Home!
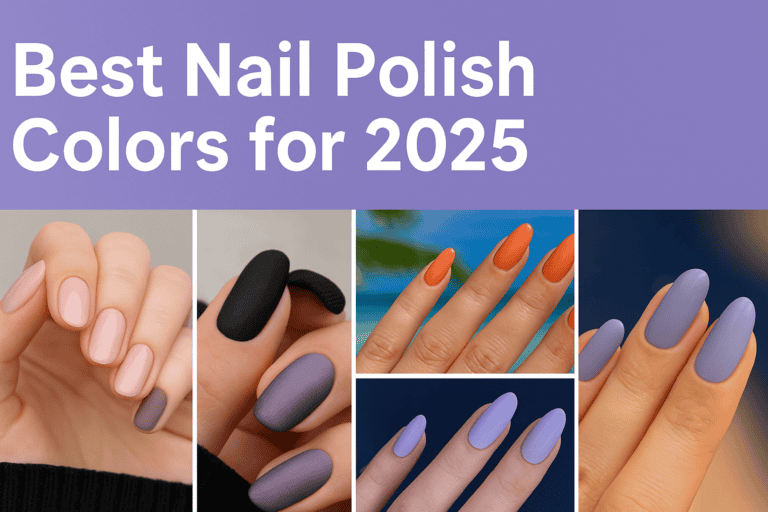
Doing your own nail art can be a fun and rewarding experience. With the right tools, techniques, and creativity, you can achieve professional-looking nails right at home. Whether you’re going for a minimalist look or an intricate design, DIY nail art at home lets you express yourself in a fun, budget-friendly way. you can see the 8 best nail polish design in 2025
Remember, practice makes perfect, so don’t be discouraged if your first few attempts aren’t flawless. Keep experimenting and having fun — your nails will thank you!